
Currently, Clean Smarts supports syncing employee and customer data from QuickBooks Online into Clean Smarts, and syncing check-ins from Clean Smarts to QuickBooks Online as time activities.
How to Connect to Your QuickBooks Online Account
- Open your profile menu (bottom-left), then go to Company Settings.
- In the left sidebar, select Payroll. This opens the Payroll Integration page.
- Under Your Payroll Software, select QuickBooks Online.
- Click Connect to QuickBooks Online. A window will open where you can log into QuickBooks Online (if you aren’t already) and choose a company to connect.
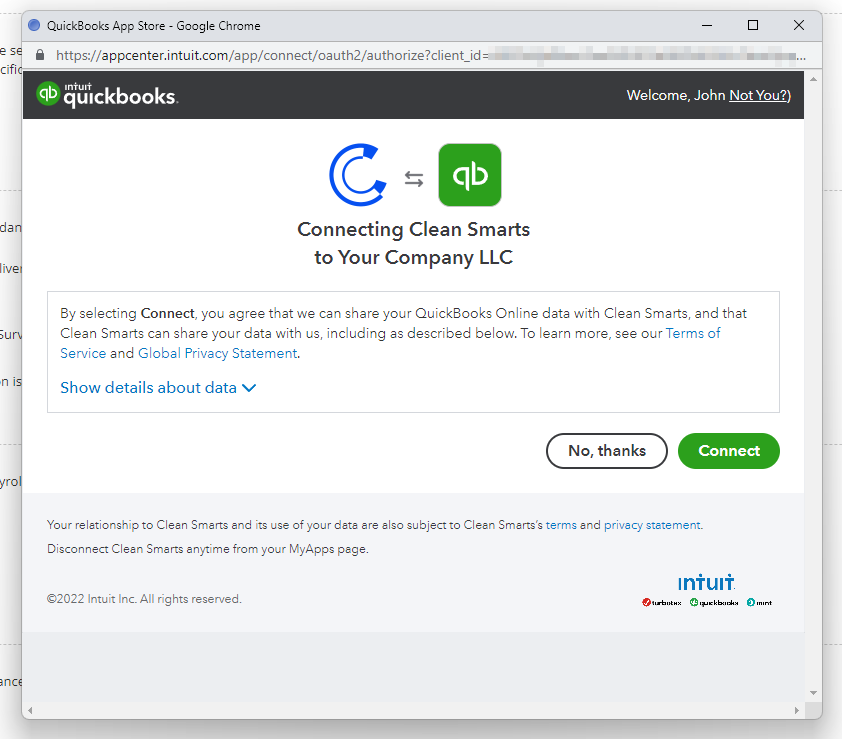
- After the pop-up closes, click Save Changes.
Optional: With QuickBooks Online selected, you can turn Automatically upload on approval on or off.
- On (default): approved check-ins are sent to QuickBooks Online as time activities when they’re approved.
- Off: approved hours are uploaded manually from Time Tracking → Approve Timesheets using the upload (cloud) control — Sync only newly approved hours or Re-sync all approved hours.
Note: You’ll need to reconnect QuickBooks Online if you don’t use the integration for 100 days. You’ll see this if you try to sync employees, customers, or time activity and get an error.
How to Sync Users
Once QuickBooks Online is connected as your payroll software, you can import employee profiles as users.
Open your profile menu → Manage Users, then use Sync Users.
For details, see the related article: “How do I sync users using an integration?”
How to Sync Locations
Once connected, you can also import QuickBooks Online customer accounts into Clean Smarts as locations.
Open your profile menu → Manage Locations, then use Sync Locations.
For details, see the related article: “How do I sync customer accounts using an integration?”
How to Sync Time Data
If Automatically upload on approval is ON (default)
Check-in data syncs to QuickBooks Online as soon as it’s approved in Time Tracking → Approve Timesheets. When a manager or supervisor approves time, Clean Smarts sends the check-in as a time activity.
If Automatically upload on approval is OFF
Approving time does not send anything to QuickBooks Online. You upload approved hours manually:
- Go to Time Tracking → Approve Timesheets.
- Select the date range (and location filters, if needed) for the hours you want to upload.
- Click the upload (cloud) icon in the toolbar.
- Choose one of:
- Sync only newly approved hours — sends approved check-ins that haven’t been uploaded yet
- Re-sync all approved hours — re-sends all approved check-ins in the selected range
- Review the preview of which check-ins will be synced, then confirm with Sync to payroll or Re-sync to payroll.
Until you run that upload, approved time stays in Clean Smarts only.
What’s sent (either mode)
Each time activity includes:
- The linked QuickBooks Online Employee ID (from Manage Users → Sync Users)
- Check-in time
- Check-out time (if there are positive adjustments / added time, the out-time sent is the adjusted check-out)
- Break hours and minutes, if there are negative adjustments (e.g. meal breaks)
- The linked QuickBooks Online Customer ID (from Manage Locations → Sync Locations)
If a manager unapproves time or deletes the check-in, Clean Smarts removes the related time activity from QuickBooks.
If another application modifies a time entry in QuickBooks Online, QuickBooks Online will not allow Clean Smarts to modify that time activity further.